Cut-out with Paint.net
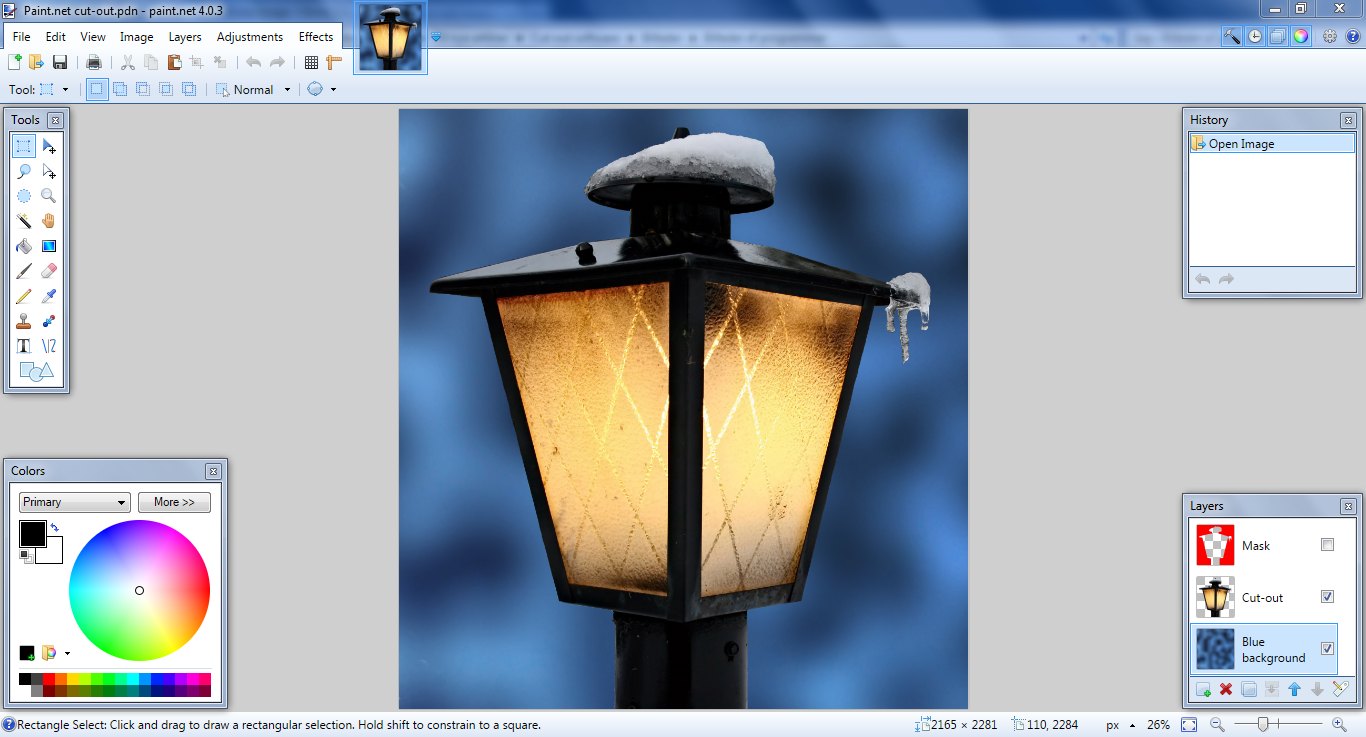
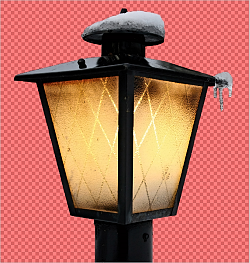
I many cases you can get an acceptable and quick cut-out with the excellent free editor Paint.net.
The work-process can be like this:
How to mask the background
If your cut-out object has well defined edges and there’s a contrasting background, you can mask the background by simple use of the magic Wand and an appropriate tolerance setting.
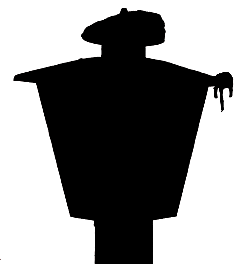
If the edges are a bit trickier you can mask the object this way:
- Create a new layer. Name it Mask
- Adjust the transparency of the Mask layer to ex. 100, and choose ex. red as primary colour
- On the Mask layer, paint over the background using lasso-/fill-, line- and/or paint-tool
- Use the magic wand to mark the red
Create a smooth transition of the edges
- Save your work as ex. mask.pdn
- Fill the red background with white and the object with black
- Save this work as ex. alpha-mask.png
- Open mask.pdn
- Go to Effects – Object – Alpha Mask and specify the alpha-mask.png as Mask File
Working with semi-transparency in Paint.net
Paint.net is not really equipped to deal with cut-outs of semi-transparent objects. However it is possible - to some extent.
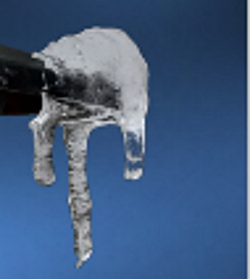
In the picture we have 3 icicles. In the icicle to the right, the background shines through. We can achieve semi-transparency to part of the icicle this way:
- Mask the area with the lasso-tool.
- Go to Effects … Color … Color to alpha advanced
And you’re done!
Make a cut-out using filters
If you think outside the box, you can also benefit from the many filters in Paint.net.
The smoke in this picture was next to impossible to cut-out even with the specialized cut-out programs, but in Paint.net it only took a few clicks:
- Menu: Adjustments … “Black and Alfa +” (Set the sliders to 0 and put a checkmark in “Invert”)
- Hit Ctrl + Shift + I or Menu: Effects … Color … “Invert Intensity” (Part of the Ed Harvey Effects)
And you’re done! (Just click on the picture to see the cut-out)
